
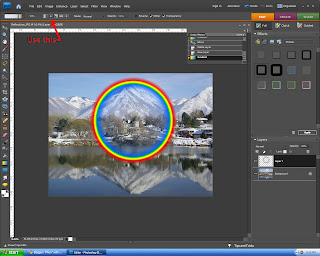
Then, I used the gradient tool on a new layer to apply a rainbow. Make sure you use the circular option up top, otherwise it will make a straight line.
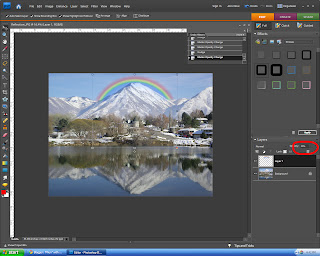
Then use the move tool and the free transform tool to change the size and location of the rainbow. Lower the opacity so that it looks realistic. I put mine at thirty, but it will depend on your picture. I also used a feathered eraser to get rid of most the rainbow, except the parts I wanted.
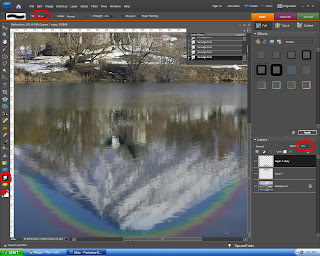
Lastly, I copied that layer with the rainbow, (Ctrl+J) and flipped it upside down and put in over the reflection of the mountain. I had to lower the opacity again because it looks darker in the reflection. I found that about Fifteen percent was just perfect. then, for the final touch, I used the smudge tool with a very fine brush on the reflected rainbow layer to give it that reflected effect like the rest of the picture.
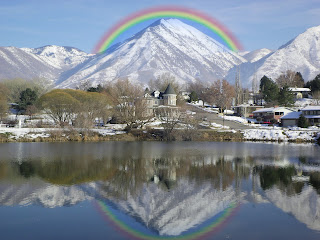
The final product turned out like this! Tell me what you think!!
No comments:
Post a Comment